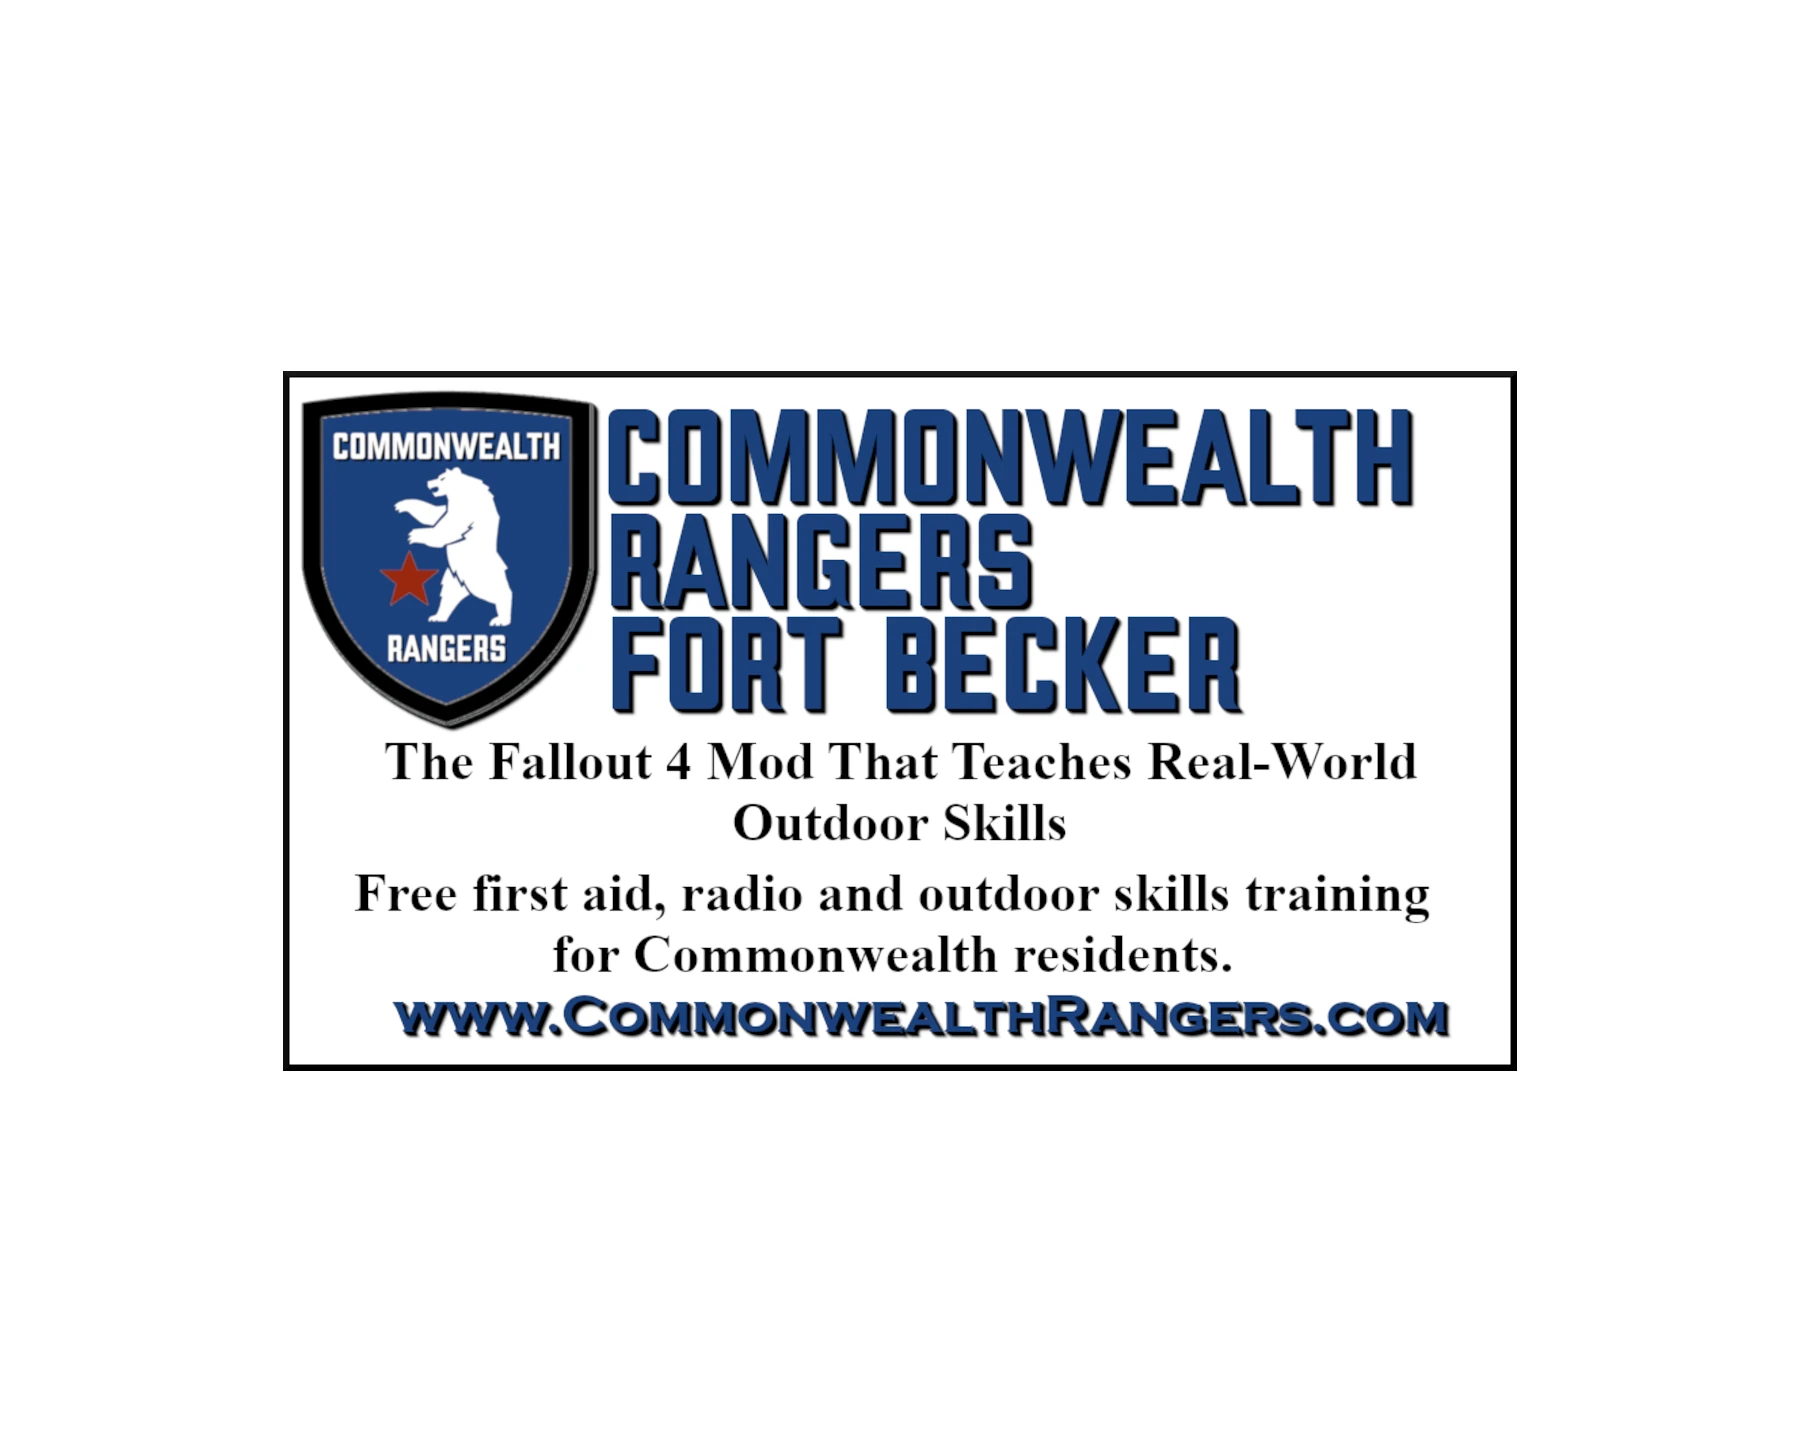
Ranger Basic Course
Welcome to the Fort Phase of the Ranger Basic Course. The Fort Phase is your initial training and all training blocks will be here at Fort Becker.
Use the Student Terminal to get course assignments and for the Fort Job Board. The student terminal is on the outside wall of the Ranger School main building at Fort Becker. Find holotapes for the Ranger Basic Course in the metal box at the terminal.
Getting Started in the Ranger Basic Course
The Fort Phase starts with Basic Weapons Training (BWT), which has 3 lessons and 5 short quests. Completing BWT qualifies Rangers for Level 1 Ranger Team Weapons. Take the BWT holotape from the metal tape box next to the terminal in order to watch in a different terminal.
Lesson 1: Intro to Weapons Training
- You’ll find a Ranger Combat Rifle in the Weapons Trunk on the porch and ammunition in the ammo cans.
- The Ranger Combat Rifle is a .45 caliber rifle with an expanded magazine, suppressor and short scope.
- Follow through the next lessons to get Basic Weapons Training (BWT) certified.
Lesson 2: Basic Weapon Handling at Commonwealth Ranger School
Whether you are playing Fallout 4 or referring to real-life handling, weapon safety is paramount. The universal foundation rests on four core principles, generally known as the Four Rules of Firearm Safety:
- Treat Every Weapon as Loaded: Always assume a firearm is ready to fire.
- Never Point at What You Don’t Intend to Destroy: Keep your muzzle pointed in a safe direction at all times.
- Keep Your Finger Off the Trigger: Only place your finger on the trigger when your sights are on the target and you are ready to shoot.
- Know Your Target and Beyond: Be absolutely sure of what you are shooting at and what lies behind it.
For Fallout 4 gameplay specifically, these translate directly into core survival habits for the Wasteland:
- Trigger Discipline (Crosshair Awareness): Do not keep your weapon drawn and crosshairs centered on NPCs while walking through towns like Diamond City or Goodneighbor. This keeps you from accidentally triggering aggressive responses from guards or companions.
- Hold down your RELOAD button to holster your weapons
- Muzzle Discipline with Explosives: Miniguns, Fat Mans, and Rocket Launchers require absolute awareness. Be careful firing heavy weapons or tossing grenades when your companions (like Dogmeat or Piper) are in close quarters, as you will easily hit them.
- Target Identification: Use your V.A.T.S. system as an extra layer of target identification. If the prompt shows a green outline over a friendly settler, caravan, or the BOS (Brotherhood of Steel), lower your weapon to avoid alerting the faction.
- Weapon Modifications: When managing your arsenal at a Weapon Workbench, make sure to equip barrels and stocks that suit your playstyle to prevent accidental hip-fire spray.
You can now move on to the next Lesson: Using V.A.T.S.
Lesson 3: Using V.A.T.S.
Using V.A.T.S. (Vault-Tec Assisted Targeting System) in Fallout 4 is a strategic combat mechanic that slows down time and lets you target specific enemy body parts based on your percentage hit chance. It requires Action Points (AP) and draws heavily from your Perception and Agility SPECIAL stats.
Activating and Using V.A.T.S.
- PC: Press Q to activate, use W and D to cycle through targets, and press E to execute.
- PlayStation: Press L1 to activate, and X to execute.
- Xbox: Press LB to activate, and A to execute.
Activate VATS in Fallout 4 by pressing Q (PC), L1 (PlayStation), or LB (Xbox). Time drastically slows down. Use your controller’s stick or mouse keys to cycle between targets and specific body parts, then press your fire/confirm button to queue and execute your attacks.
Core Mechanics
- Action Points (AP): VATS consumes AP, which dictates how many shots you can queue. Your AP refreshes in real-time once you exit the VATS mode.
- Hit Percentages: Each body part displays a percentage. Factors like distance, your weapon’s accuracy, and your Perception stat affect these odds. [1, 2]
- Critical Hits: Successful VATS hits fill your critical meter. When the meter is full, press the Critical/Reload button (Spacebar on PC, X on Xbox, Triangle on PlayStation) to fire a guaranteed critical hit.
Advanced Strategies
- Limb Targeting: Aiming for legs slows enemies down, while disabling an arm holding a heavy weapon will stop them from attacking.
- Scouting: Tap the VATS button out of combat to scan your surroundings. It will highlight hidden mines, turrets, and enemies that might be out of your field of view.
- Stat Investments: To maximize VATS, invest in Agility (increases your max AP pool) and Luck (charges your critical meter faster and increases critical damage).
Lesson 4: Ranger School Weapons
The weapons at Commonwealth Ranger School are made by the Gun Runners, a large contingent of whom came east with the NCR delegation in 2282. The Gun Runners have a small armory and workshop at Becker’s Corner near the base of the Hill Fort.
At the Commonwealth Ranger School you’ll be trained on several different weapons,
- The Ranger Combat Rifle is a .45 caliber rifle with a full stock, standard barrel, expanded magazine, suppressor and short scope. The Ranger Combat Rifle is the first rifle you’ll be issued.
- The Ranger Team Rifle is a more powerful .45 with a Marksman’s stock, short barrel, suppressor and long scope. You’ll have access to the Ranger Team Rifle when you get BWT certified.
- The Gun Runners SMG is a .45 full-auto, short-stocked combat rifle with an expanded magazine and suppressor. Used for room-clearing and CQB, you’ll be trained on the SMG during the CQB lessons.
- The Ranger Hunting Rifle is a bolt-action .308 with a Marksman’s Stock, long scope and suppressor. You’ll have access to the Ranger Hunting Rifle when you complete the Wildlife Management lessons.
Lesson 5: Rangers Are Hunters, Not Soldiers
As a Ranger your skills are used for stalking and surgical strikes rather than assaulting barricades and dying bravely. Commonwealth Rangers are hunters who manage the various types of ‘wildlife’ within our range.
The next instructional blocks will give you some hunting and stalking basics.
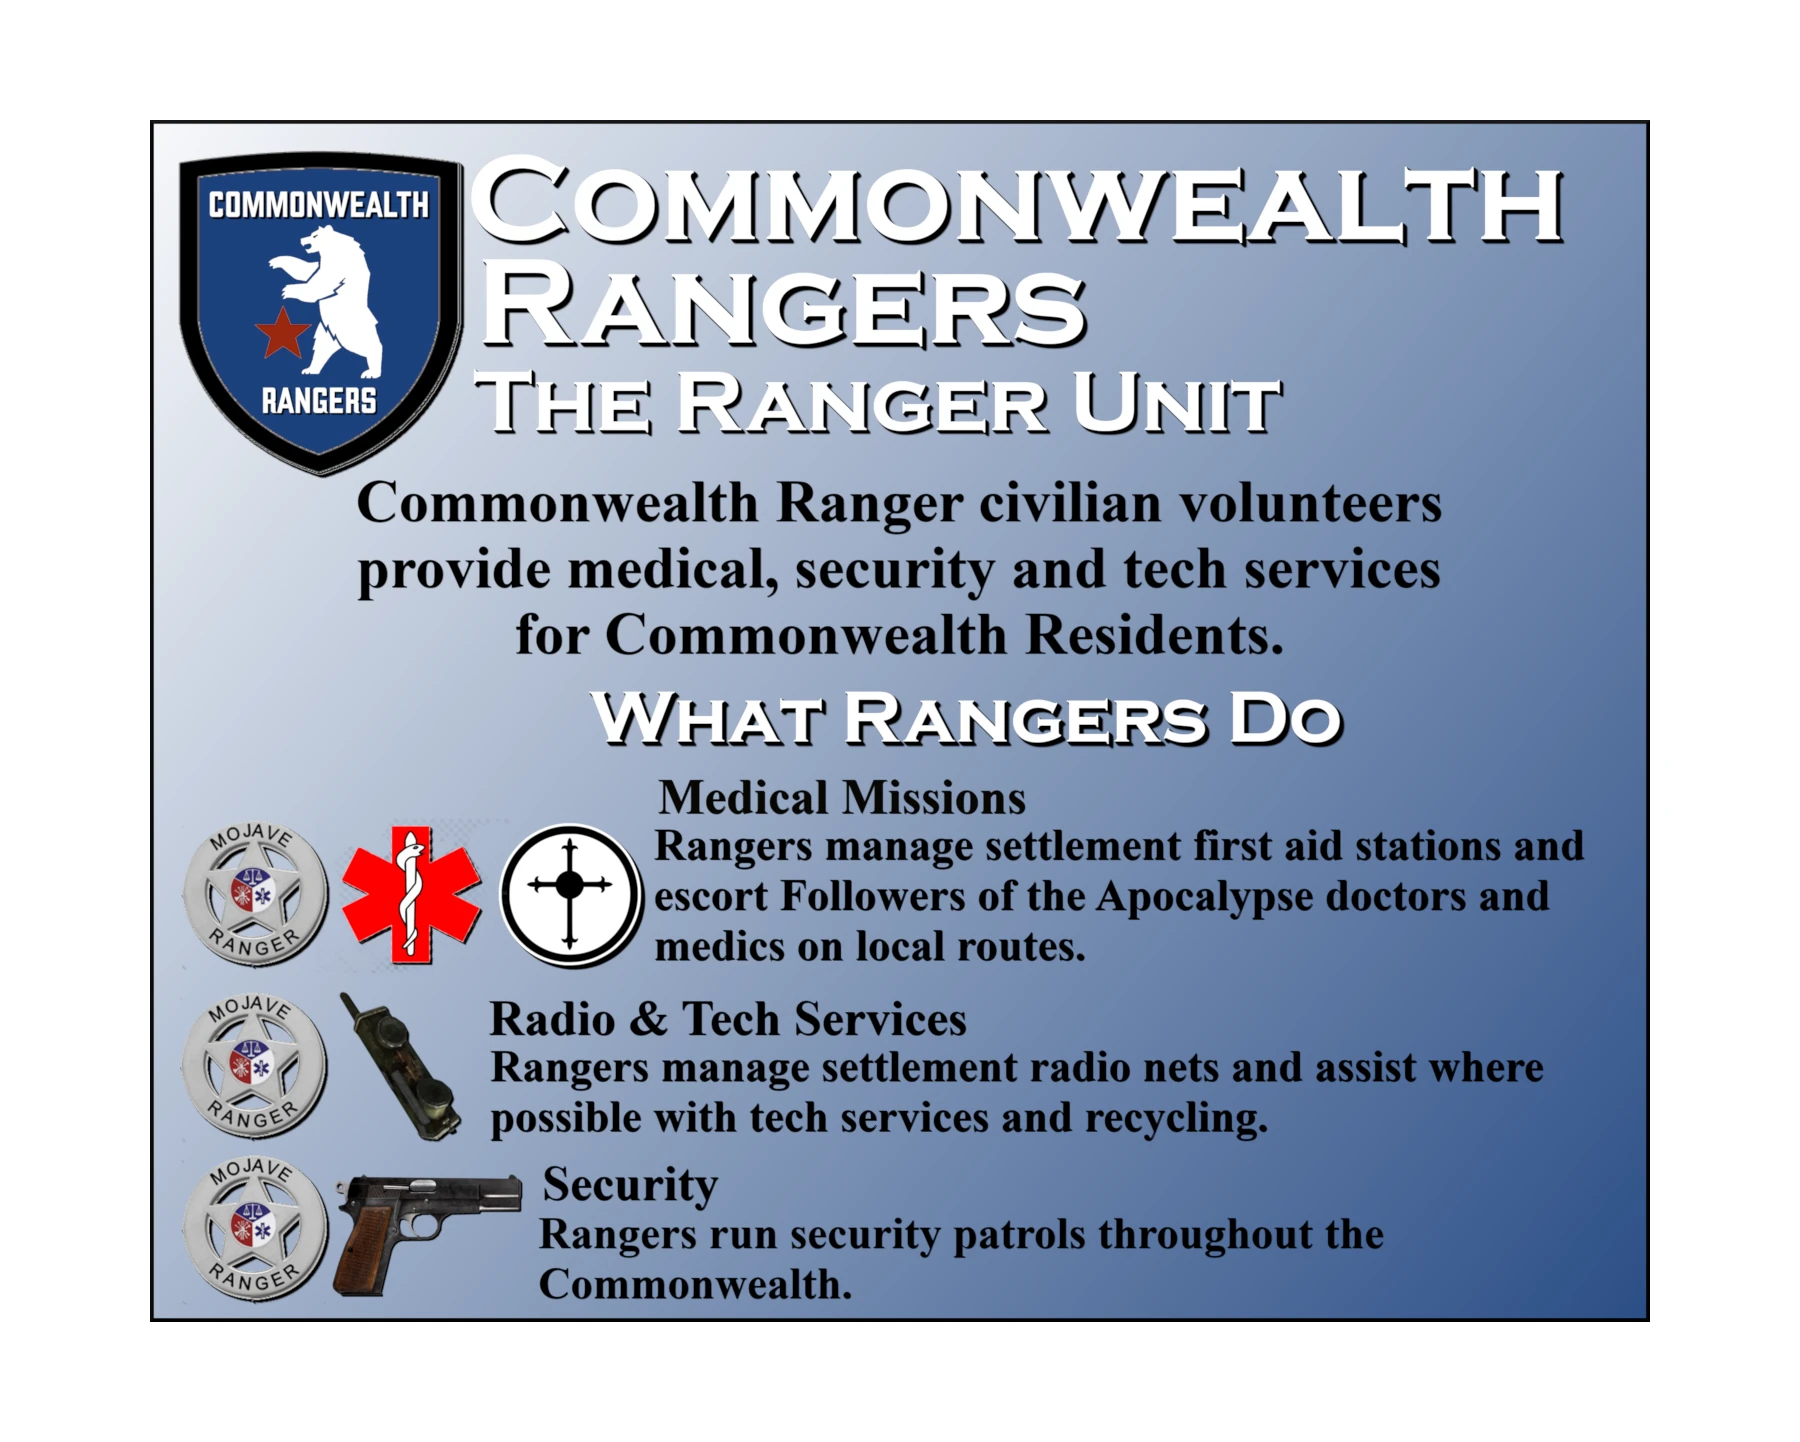
What Is A Commonwealth Ranger?
- The Commonwealth Rangers are based on pre-war Park Ranger principles and operations.
- Commonwealth Rangers are local volunteers who run medical, Search & Rescue (SAR) and tech support missions and who serve, when possible, as backup for the Minutemen.
- Rangers are people who take responsibility for their local area, or range, and who strive to maintain a balanced ecosystem for all the area residents, including humans.
- Rangers help maintain wildlife herds, remove dangerous predators and work to help nature recover in as many ways as possible.
Lesson 6: Basic Hunting
Hunting in Fallout 4 is essential for gathering food (for health and cooking),XP, and crafting materials. The most effective hunting techniques rely on stealth, targeting specific weak points with V.A.T.S., using the right weapon for the right creature, and preparing traps.
Mastering the wastes requires understanding how to approach different targets:
- Stealth and Long-Range Basics
- Sneak Attacks: Always crouch until your stealth meter says “Hidden.” Firing a silenced weapon from hiding multiplies your damage significantly (and later unlocks massive sneak-attack multipliers with perks).
- The “Peek” Mechanic: When in cover behind a wall or rock, aiming down your sights (iron-sights or scope) causes your character to naturally lean or peek around the corner without exposing your whole body to dangerous wildlife.
- Perk Recommendations: Invest in the Rifleman perk (for non-automatic rifles) to boost base damage, and Ninja or Mr. Sandman for maximizing silenced, long-range kills.
- Aiming for Weak Points
Different wasteland creatures have unique anatomies. Targeting the wrong area wastes precious ammo:
- Deathclaws: Their head is heavily armored; target their stomach for maximum damage.
- Feral Ghouls & Mirelurks: Both have heavily armored heads, making their legs or stems/shell hinges the best target to immobilize or expose them.
- Radscorpions: Their stinger is their deadliest weapon and has a low resistance threshold—always shoot the stinger to cripple it.
- V.A.T.S. Tactical Targeting
- V.A.T.S. is not just for auto-aiming; use it to cripple a target’s limbs to slow down or disarm predators.
- Targeting an enemy’s weapon hand can completely disarm dangerous humanoid hunters.
- Concentrated Fire: This Perception perk allows you to target the same body part multiple times in V.A.T.S. with increasingly higher accuracy and damage.
- Environmental Traps and Explosives
- Shoot Mines/Grenades: If an enemy throws a grenade or drops a mine near a pack of animals, you can actually target the explosive in V.A.T.S. and detonate it mid-air for massive collateral damage.
- Lure into Environmental Hazards: Use nearby fuel puddles, parked cars, or gas canisters as traps. Lure your prey near them and shoot the explosive object to take down large groups.
Lesson 7: Shooting Skills
In Fallout 4, you can shoot using real-time aiming or the V.A.T.S. system. Real-time requires clicking the fire button manually (Left-Click on PC, Right Trigger on Xbox, R2 on PlayStation). V.A.T.S. is the Vault-Tec Assisted Targeting System that pauses or slows down time to let you target specific body parts.
Real-Time Shooting
For traditional first-person or third-person shooter combat:
- Hip Fire: Press the fire button without aiming.
- Aim Down Sights (ADS): Hold the alternate fire button (Right-Click on PC, Left Trigger on Xbox, L2 on PlayStation) to zoom in and increase accuracy.
- Shooting from Cover: If you hug a wall, car, or doorway and press the aim button, your character will automatically peek out to fire.
V.A.T.S. (Vault-Tec Assisted Targeting System)
If you prefer a more traditional role-playing experience or need help aiming:
- Activate: Press the V.A.T.S. button (Q on PC, LB on Xbox, L1 on PlayStation) to slow down time.
- Select Target: Cycle through enemies and highlight specific body parts (head, torso, arms, or legs). Each part has a percentage showing your chance to hit.
- Shoot/Execute: Queue up your shots and press the fire command to execute the sequence.
Combat Tips
- Banking Crits: Landing shots in V.A.T.S. fills your critical meter. Once full, you can save it and trigger a guaranteed critical hit on a tough enemy.
- Targeting Limbs: Don’t just aim for the head. Shooting a ghoul’s legs drops them to the floor, and shooting a robot’s arms stops them from firing back.
Take Cover and Reload
Fallout 4 features an integrated contextual cover system. There is no dedicated cover button; instead, your character automatically leans when you position yourself close to obstacles in first-person view.
How to Use Cover
To utilize the cover system:
- Approach the obstacle: Move flush against a wall, corner, or low barrier with your weapon drawn. Your character’s weapon will lower slightly against the wall.
- Aim: Press the Aim/Block button (Right-Click on PC, Left Trigger on Xbox, L2 on PlayStation).
- Lean and Shoot: Your character will automatically lean or pop out from the side/top of the cover while you are aiming. Releasing the aim button will pull you back behind the obstacle.
How to Reload
You can reload your weapon anytime your gun is not completely empty, or wait for it to auto-reload when you run out of ammunition.
- PC: Press R
- Xbox: Press X
- PlayStation: Press Square
Note: You cannot sprint and reload at the same time in the vanilla game.
Fort Becker Shooting Range
The Fort Becker shooting range consists of recycled street signs used as targets with sand-filled barrels as backstops. Players can run Shoot, Move, Communicate drills using the street signs as targets, and the barrels have playing cards attached for hunting rifle practice.
Lesson 8: Using Cover
Fallout 4 features a context-sensitive, “lean-to” cover system. Instead of sticky cover, you manually position your character near a wall, corner, or object, and use your weapon’s sights to safely peer out.
Here is how to use it:
The Vanilla Mechanics
- Get Close: Move your character flush against a vertical edge, a wall, or an obstacle.
- Watch Your Weapon: You will know the system has engaged when your character’s weapon shifts or lowers in relation to your screen.
- Aim to Peek: Press the Aim Down Sights (ADS) button (Right Mouse Button on PC, LT on Xbox, or L2 on PlayStation). Your character will automatically lean out to fire.
- Return to Safety: Simply let go of the ADS button to tuck back behind cover.
Important Tips
- First-Person View: The vanilla cover system works best in first-person perspective. In third-person, your character may simply lean slightly, but it won’t be as clean.
- Angles Matter: You can only lean in the direction of the open space (e.g., if a wall is to your left, you will lean out to the right).
- VATS Shortcut: You can enter VATS while leaning out of cover, which will let you target enemies while keeping your hit-box shielded.
Enhancing the System with Mods
If you find the base game’s cover mechanics too finicky, you can improve them with the highly popular Take Cover mod, available on Nexus Mods for PC or the Bethesda creations menu for Xbox. It adds:
- Sprint-to-Cover: Automatically lock into cover by sprinting into a wall with your weapon drawn.
- Hotkeys: Instantly toggle in and out of cover with a dedicated keybind.
- Vaulting: Easily vault over lower obstacles.
Lesson 9: Cover v. Concealment
In Fallout 4, Cover protects you from incoming fire and hides you from enemy sight. Concealment merely breaks line-of-sight. Understanding this difference, along with the game’s combat and stealth mechanics, is vital for surviving the wasteland.
Cover vs. Concealment Mechanics
- Cover: Objects like thick concrete walls, heavy steel, and dense rock. True cover completely shields your hitbox from enemy projectiles.
- Concealment: Objects like chain-link fences, wooden boards, shrubs, and cars. These objects hide you visually, but enemy bullets can penetrate right through them.
- The Problem with Vanilla Cover: Fallout 4 lacks a dedicated, snap-to cover mechanic in the vanilla game. While you can hug walls and aim-down-sights to blind-fire or lean out, your hitbox remains largely exposed.
The Penetrator Perk
Because many objects in Fallout 4 are just concealment, the Penetrator Perk (Perception 9) is incredibly powerful. It allows you to target body parts behind hard cover using VATS. When you line up a shot in VATS, you can bypass the object’s physical block and damage the enemy directly.
Enhancing the System
If you are frustrated by enemies seemingly shooting through solid objects (because the object was classed as concealment, not cover), you can overhaul combat mechanics via Fallout 4 Nexus.
Popular modifications include:
- Take Cover Mod on Nexus: Adds a tactical cover system where you actively lean, pop out, and reduce your hitbox dynamically.
- Commonwealth Ballistics – Penetration System on Nexus: Introduces an engine-level framework that determines what walls and objects bullets can actually pass through, making firefights strictly based on material and caliber.
Lesson 10: Stealth
Mastering stealth in Fallout 4 revolves around stacking damage multipliers with silenced weapons and maximizing your Agility. By utilizing the crouch button, avoiding direct light sources, and investing in key perks, you can consistently eliminate enemies in the shadows without ever alerting them.
- Essential Perks
To build an unstoppable ghost, you must prioritize specific perks to stay hidden and multiply your damage:
- Sneak (Agility 3): Makes you exponentially harder to detect and prevents you from triggering enemy mines and floor traps at higher ranks.
- Ninja (Agility 10): Dramatically multiplies your sneak attack damage for both ranged weapons (3.5×) and melee weapons (10×).
- Mr. Sandman: Increases the sneak attack damage of silenced weapons (up to +50%).
- Gear & Weapons
Your choice of equipment dictates how well you can move and strike undetected:
- Silenced Weapons: Equip suppressors on pistols (like the legendary Deliverer) or rifles to maintain your hidden status while firing.
- Armor Mods: Apply Shadowed mods to armor pieces for better concealment in dark areas, Muffled for silent movement, and Sleek to move faster while sneaking.
- Avoid Power Armor: Sneaking in Power Armor is incredibly difficult. It is highly recommended to stick to regular armor or specialized gear like the Chinese Stealth Suit.
- Core Tactics & Modifiers
- Watch Your Pip-Boy Light: The light emitted by your Pip-Boy dramatically reduces your stealth. Keep it turned off in dark environments.
- Companions: Unless playing solo (using the Lone Wanderer perk), companions can easily blow your cover. It’s best to leave them behind or instruct them to wait far back when clearing an area.
- Action Boy / Action Girl: If you are using V.A.T.S. to take your stealth shots, this perk is necessary to regenerate Action Points rapidly.
Lesson 11: Using Scopes and Suppressors
Using scopes and suppressors in Fallout 4 is the core strategy for building a powerful stealth sniper or gunslinger character. Together, these attachments allow you to take down enemies from a distance without alerting their entire camp.
Key Stats and Mechanics
- Suppressors: Drastically reduce the sound of your weapon, keeping you hidden and making enemies take longer to detect you. They also reduce recoil.
- The Drawback: They decrease your weapon’s effective range by roughly 30 points and decrease V.A.T.S. accuracy at long distances.
- Compatibility: Suppressors are only for standard ballistic weapons; you cannot attach them to energy weapons without specific mods.
- Scopes: Allow you to zoom in on targets from afar (Short, Medium, Long, and Night Vision options).
- The Drawback: They increase your Action Point (AP) cost in V.A.T.S. and can make firing from the hip or close quarters harder.
Best Perks to Unlock
To get the most out of your scoped and silenced loadout, you will need to invest in specific perks at a Weapons Workbench:
- Gun Nut: Required to craft and attach both scopes and suppressors to ballistic weapons. You will generally need Rank 2 for scopes and Rank 3 for high-tier suppressors.
- Science!: Required for modifying laser/plasma weapons and building advanced night-vision scopes.
- Sneak, Mister Sandman, and Ninja: Maximizes the damage output of your silenced weapons, allowing you to deal up to 4.8× or more in sneak-attack damage.
- Rifleman (for semi-auto) or Gunslinger (for pistols): These perks boost your base weapon damage. Note: Sneak attack perks do not work well with fully automatic weapons.
Where to Find Suppressors and Scopes Early
Instead of spending perk points early, you can find weapons with these attachments already equipped:
- The Deliverer: An iconic, already-suppressed 10mm pistol found during the “Tradecraft” quest (given by the Railroad).
- Overseer’s Guardian: A powerful combat rifle sold by Alexis Combes inside Vault 81. While it doesn’t come with a suppressor attached, it uses easily accessible ammo, and you can add one once you have the right Gun Nut rank.
- Bolt-Action Pipe Weapons: Can be looted off early-game Raiders and modified into a silenced sniper at any local Weapons Workbench (like the one at the Red Rocket Truck Stop just south of Sanctuary).
Quests
Complete the following quests to finish the Basic Weapons Training certification.
Shoot, Move, Communicate 1
Basic Weapons Familiarization: on the Fort Becker shooting range,
- Test your weapons: fire at the target at point 1
- Aim
- Fire
- Reload
- Take Cover: take cover behind the barrels. Remember the difference between cover and concealment.
- Engage targets from cover
- Reload from cover
- Stealth: From a crouch
- Move up the range and engage targets. The targets are street signs that have a barrel backstop.
- Always be aware of your backstop. Unlike on TV, bullets can penetrate through walls, ricochet off hard objects or penetrate multiple targets.
- Shooting radroaches in the vault is an excellent example of when NOT to shoot at an enemy and use a different weapon instead.
- A gun doesn’t solve everything the same way a hammer doesn’t fix everything.
Wildlife Management 1
- Stalking Molerats: There are multiple molerat colonies on Fort Becker, which are causing problems for settlers as well as Rangers.
- Stalking molerats is incredibly hard. Molerats will instantly attack if you miss your shot, and will alert the rest of the colony. The best method is to get a clean shot on one, then withdraw and come back and shoot another.
- If attacked by the colony: be sure to use your V.A.T.S. to target the closest molerats and try to withdraw away from the area to see if the attacks stop, then come back and bag another one.
Hunting molerats with a rifle requires patience and precision. Because they burrow and ambush, you should use VATS to spot them before they surface, mod your weapon with a short or reflex scope for better handling, and aim for the head to secure a one-hit kill.
Here is the most effective approach to hunting them:
- Weapon & Mod Setup
- The Best Rifle: A standard Hunting Rifle is excellent for early-game damage. If you have automatic or high-level gear, a Combat Rifle works best for handling groups. [1]
- Crucial Mods: Attach a Reflex Sight or Short Scope. Iron sights make it incredibly difficult to track darting molerats, while long scopes make you too slow if they get too close.
- Legendary Perks: If you have it, the Two-Shot or Instigating legendary effects will guarantee an instant kill on standard molerats.
- Hunting Tactics
- VATS is Your Best Friend: Molerats love to hide in the dirt and pop up unexpectedly. Constantly tap your VATS key as you walk through the wasteland to target them in their burrows before they ever surface.
- Listen Closely: When unburrowing, molerats make a distinct scratching and chattering noise. Stop moving and crouch to avoid taking early melee damage.
- Watch for “Mine-Rats”: In certain areas (like near USAF Satellite Station Olivia), raiders strap fragmentation mines to molerats. Do not use a rifle while they are right in front of you, as shooting them will trigger the mine and blow you up. Instead, backpedal and shoot them from a safe distance.
Wildlife Management 2
Bloatfly infestation: There are a couple bloatfly swarms on the fort that need to be cleared.
Bloatflies attack at long range by peppering their prey with spine-bedecked larva launched from its abdomen. They tend to attack in groups, and may pose an additional threat based on their ability to attack from a distance.
Hunting bloatflies in Fallout 4 requires patience, stealth, and VATS. Because they are fast and dodge mid-air, you can track them by listening for their distinct buzzing, using a suppressed ranged weapon, and locking onto them in VATS to eliminate them before they close the distance.
How to Stalk and Hunt Bloatflies Effectively
- Listen and Scan: Bloatflies tend to hover stationary near trees, walls, or pipes while they wait for prey. Listen for a loud, wet buzzing sound and scan the treelines or ruins ahead.
- Keep Your Distance: Equip high-ground advantage and use stealth perks like Sneak and Mister Sandman. Never run directly at them, as they have excellent detection and will swarm you quickly.
- VATS is Your Friend: Because they are erratic, manual aiming can waste precious ammo. Use VATS with a fast-firing weapon or shotgun to instantly lock onto them.
- Prioritize the Body: While some creatures have weak spots like the head, bloatflies have tiny hitboxes. Target their torso/body in VATS for the highest hit chance, rather than their wings.
Congratulations! Completing these quests complete your Basic Weapons Certification. You can now start the Grenades and Explosives Certification course.